

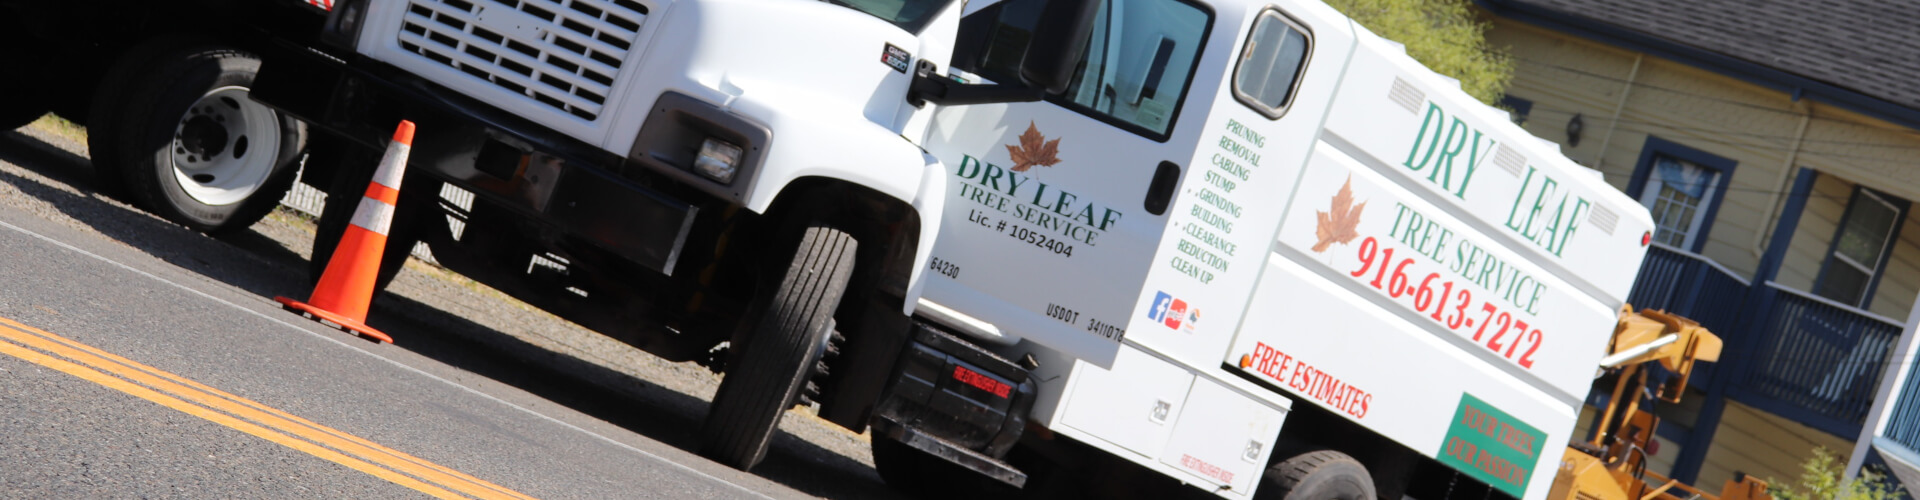

Safety First: Things that you need to have to protect yourself when first preparing to cut a tree down.
When cutting down a tree, the first thing to do is to ensure your safety. The most important part of any job is keeping everyone safe. Everything else becomes second because everyone wants to come home vs being squished by the tree. Cutting down trees can be very dangerous, especially if not done by an experienced logger or tree cutter. Keep safe by having hard hats, gloves, and safety goggles. If the weather is too hot, make sure to drink plenty of water to stay hydrated and focus on the job. Of course, you need an electric or gas-powered saw to cut the tree. The job may take too long if you use a hatchet, but it is still possible if you put your mind to it.
By looking at the tree you can tell if it's dead, brittle, or alive. If the tree is dying, the wood is known to split. If the tree is alive, it will have more weight and most likely already be leaning a certain way. Checking what stage the tree is in can help figure out what direction the tree will most likely fall in. If the tree is weak, it's dead and can cause problems when cutting down.
Plan what direction you want your tree to fall to prevent injuries and damage. Cut off any small branches on the trunk, so you can see have a clear area to determine where to cut. Keeping the surrounding area clean from fallen branches and other things that might get in the way will make the job a little easier. Make sure to have an escape route planned just in case the tree starts to fall before the final cut is made.
In three steps you can safely cut a tree down: 1st cut a wedge, 2nd leave the hinge, and 3rd cut the back cut above the wedge. Then, begins the clean-up by cutting off small branches leading up to the branches with the most tension for last. After that, cut the trunk into small sections and put away the leftovers from the tree trunk for extra firewood and the equipment used.
Safety: Step 1: Cut wedge
Look at the tree to determine your measurements before cutting. Having a clean surrounding area helps avoid any problems that may occur. Using a chainsaw and protective gear to cut the piece out is more effective than using a hatchet. Cutting a wedge looks like a small triangle cut out of the tree, but not cut all the way through. The most effective way to cut a wedge in a tree is to cut at a 70 degrees angle or more than 1/3 of the tree. Using a wedge determines the way the tree will break off and eventually fall in that direction. You can make scratch marks with the saw into the tree to keep your line in place. The only way to make an effective wedge is to cut in a straight horizontal line in the tree.
2nd Step: The Hinge
The hinge gives the tree the strength to not fall immediately after cutting the wedge out. Not leaving enough space for the hinge can cause many problems and even death if done incorrectly. You need about one and a half inches between the wedge and the back cut. A way to ensure you leave enough space is to use a saw to leave light scratch marks indicating where you need to stop cutting. Leaving the hinge space lets the tree fall in the direction you want, instead of it falling in any direction, possibly killing or majorly hurting someone. Having enough space between both cuts determines what your tree will do and fall in the direction you want. But cutting the tree with not enough hinge space can cause the tree to fall or break, which is known as a “barber chair”. The barber chair is one of the most common accidents and is responsible for many deaths while cutting trees.
3rd Step: The Back Cut
The back cut is an incision that is made straight through the trunk on the other side of the wedge and meets up near the hinge. The back cut is also known as the fell line to experience loggers. Leaving the wedge with a minimum of 1 and ½ inches is necessary to ensure safety and to keep the tree from falling in the wrong direction. To help guide yourself, you can leave scratch marks just above the wedge line, but not passing the hinge. Then follow the line with the chain saw in one motion. Immediately after cutting through one side, insert the wedge into the back cut. If you cut too low, the tree might kick back from the tension or split down the middle. After the back cut is made, the tree should begin to fall. If not, go to the opposite side you want the tree to fall and give a slight push to where the wedge is to get the tree to fall in that direction you want. Yell out, “TIMBER” just to warn anyone around that the tree is coming down as a precaution.

Javier and his team took out a few trees for us and now they will be back this week to take care of a couple more trees for us. They are easy to work with and communicate with. They are very professional and awesome to work with.
Best Tree Service in town very professional and affordable they get the job Done !!

Professional and friendly. They did a great job. Free estimate and punctual.Would highly recommend.
